Let’s face it – your smartphone is useless in the wilderness with no signal. I learned this the hard way trying to use alert apps to spot poison oak. Unfortunately, I was standing right in the middle of it.
This part is about being ready without digital tools. It’s like a digital detox for those who love the outdoors. We’re talking about making physical contact lists and maps that you can actually use.
We’ll create what I call the “paper parachute.” It’s offline info that saves your adventure when tech fails. It’s your go-to guide when nature shows who’s boss.
Before your next adventure, check park websites for updates. Having physical resources when your phone dies is not just smart. It’s a must for wilderness survival.
When to Call 911 vs Park/Forest Dispatch
Imagine you’re deep in the wilderness and something goes wrong. Your mind races: Do I dial 911 or hunt down that park dispatch number I saved somewhere? This choice is like deciding between calling the Avengers or your building superintendent. Both can help, but one might be too much for your situation.
True emergencies demand 911. We’re talking life-threatening situations, active wildfires, or actual wildlife encounters where you’re on the menu. If someone’s bleeding profusely, having a heart attack, or a bear has decided your tent looks delicious, that’s your cue. The 911 system connects to emergency services that can coordinate multiple resources quickly.
Park dispatch numbers, like California’s (916) 358-1300, handle everything else. Locked your keys in the car at the trailhead? That’s a park dispatch call. Lost on a well-marked trail but fine? Park dispatch. Need to report a non-emergency maintenance issue? You get the idea.
Think of it this way: 911 is for immediate danger, while park dispatch is for inconvenience with nature views. Making the right choice ensures emergency resources remain available for actual crises while getting you the right help.
Remember: when in doubt, err on the side of 911. It’s better to have professionals assess the situation than to underestimate a potentially dangerous scenario. But if you call 911 because you ran out of trail mix? Well, let’s just hope the rangers have a good sense of humor.
What to Say: location format, injuries, resources needed
When you call for help, it shouldn’t sound like a joke. It’s a serious moment that needs clear communication. You want to speak as if you’re describing fine wine, not a comedy sketch.
Location reporting is more than just giving directions. Instead of “near the big tree,” give exact details. Rangers need trail names, mile markers, and landmarks. For example, “2.3 miles north on the Mist Trail, east of Vernal Fall” is much better than “in the woods somewhere.”
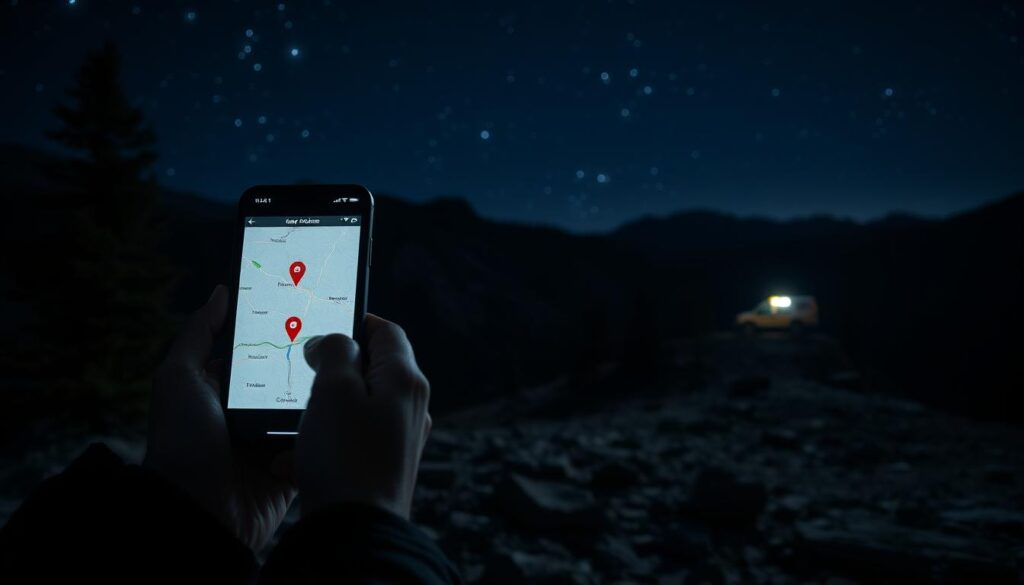
When talking about injuries, be clear and direct. Common issues include snake bites, heat illness, and bike accidents. Say “compound fracture approximately 4 inches above the ankle” instead of “my leg feels weird.” First responders need clear facts, not vague descriptions.
When asking for help, be specific. “I’ll have one helicopter extraction with a side of paramedics” is a good start. Tell them exactly what you need, like medical teams or rescue gear. This is not the time to be shy or vague.
| What You Might Want to Say | What Actually Helps Responders | Why It Matters |
|---|---|---|
| “I’m somewhere on this mountain” | “North face of Half Dome, 300 feet below summit” | Cuts search area by 90% immediately |
| “My friend got bit by something” | “Rattlesnake bite to left calf, swelling present” | Determines antivenom needs and urgency |
| “We need help ASAP” | “Need medical evacuation and ALS paramedics” | Dispatches appropriate resources immediately |
| “It’s really hot out here” | “Two people showing heat stroke symptoms” | Triggers specific medical response protocol |
In emergencies, clear communication is key. Every unclear statement wastes valuable time. How well you describe your situation can mean the difference between getting help quickly or waiting too long.
Practice your emergency communication skills. Learn to describe locations accurately and understand medical terms for outdoor injuries. Know what help different situations need. This preparation can turn panic into action when every second counts.
Using what3words/UTM/lat‑long effectively
Welcome to the geolocation olympics, where finding your exact spot can save lives. We’ll explore coordinate systems with excitement, like a geography teacher on caffeine.
Today, emergency teams need location precision that’s almost perfect. Forget about “near the big tree.” Now, they want GPS coordinates so exact they can find your lost car keys.
what3words divides the world into 3-meter squares, each with three words. It’s simple and works everywhere. Telling responders you’re at ///promoted.bronze.penguins is a modern rescue trick.
UTM coordinates are for land lovers. It’s a grid system that’s clear and easy to use. Many teams prefer it because it avoids confusion with other systems.
Lat-long is the classic choice. It’s a universal language that everyone gets. Just pick one and stick with it to avoid confusion.
Here’s how these coordinate systems stack up in real emergencies:
| System | Precision Level | Ease of Use | Adoption Rate | Best For |
|---|---|---|---|---|
| what3words | 3-meter accuracy | Very easy | Growing rapidly | Urban areas, quick sharing |
| UTM Coordinates | 1-meter accuracy | Moderate learning curve | High among professionals | Backcountry, military-style navigation |
| Lat-Long | Varies with format | Familiar to most | Universal standard | General use, traditional mapping |
Your phone can show GPS coordinates in many ways. Try them out before you really need them. It’s better than fumbling with your phone in an emergency.
Any location data is better than none. Even rough coordinates can help a lot. The goal is to give rescuers enough info to find you quickly.
Practice using these systems on your adventures. Check your location accuracy against landmarks. This builds confidence for when you really need it.
Being able to give precise GPS coordinates can save hours. In wilderness emergencies, those hours can mean the difference between life and death. Pick your system and practice until it’s second nature.
Regional Directories: National/State Parks, Forests, BLM, county SAR, marine rescue
California’s wilderness rescue system is like a big company. Knowing who to call in an emergency is key. It’s like knowing who to talk to in a big company – you wouldn’t ask the wrong person for help.
National Parks serve as the corporate headquarters of the rescue world. In places like Yosemite or Point Reyes, park rangers are the first ones you call. They have their own teams and rules.
State parks, like Mount Diablo, are like regional offices. They can act on their own but also report to the top. Their rangers start the rescue, but might call in county teams for bigger jobs.
County sheriff departments are like the SWAT teams. When things get really serious, everyone calls the county sheriff. They manage the rescue efforts and have the final say. It’s like the sheriff’s department is the top boss everyone answers to.
Here’s your emergency contact cheat sheet:
- National Parks: Call park dispatch directly (they hate going through 911)
- State Parks: Start with park rangers, escalate to county if needed
- National Forests: Forest Service dispatch handles initial response
- BLM Land: They manage the property but often rely on county resources
- Marine Emergencies: Coast Guard leads, with county marine units assisting
Jurisdiction matters a lot in the wilderness. A small change in location can affect who comes to help you. It’s like a big company fight over who gets to do what.
Pro tip: Save these numbers in your phone before you go out. Knowing the right number to call can save your life in California’s wilderness.
Alerts & Info: CAL FIRE, Ready.gov, county alerts, NWS, Caltrans road conditions
Government agencies give warnings, like nature’s warning signs. Learning to understand these warnings can save your trip or life. It’s like learning a new language before nature speaks.
CAL FIRE acts like a fire bouncer, deciding who can play with fire and who can’t. Their danger levels range from “don’t light that” to “don’t even think about it.”
- Moderate: Campfires allowed, but have water ready
- High: More rules, no fires after dark
- Extreme: No fires allowed, like a fire ban
NOAA/NWS weather alerts are important when you’re outside. A flash flood warning means it’s time to move to higher ground.
Caltrans 511 shares the latest on California’s roads. A mountain pass closure means your car isn’t made for off-roading.
County alert systems are like neighborhood watches for big areas. They inform you about fires, missing people, and more. Sometimes, the danger comes from people, not nature.
Ready.gov is like a guide for emergency prep. They offer plans and kits to help you stay ready.
Knowing these alert systems helps you prepare for emergencies. It’s the difference between being a statistic or avoiding danger.
After the Call: stay put vs self‑rescue decision tree
The phone call ends, and you’re in your own survival show. But without the camera crew or prize money. Your emergency response now shifts to making smart choices.
Do you wait for rescue or take matters into your own hands? The right choice isn’t based on instinct. It’s about carefully looking at your situation.
Injury severity is key. Can you move without making things worse? If you have serious injuries, moving could make things much worse.
Weather conditions are also important. Is it getting dark or cold fast? Is a storm coming? These factors set time limits for your decision.
Knowing where you are is critical. Are you sure of your location, or just guessing? This affects whether you can rescue yourself or not.
| Situation Factor | Stay Put Recommendation | Self-Rescue Consideration | Critical Threshold |
|---|---|---|---|
| Moderate to Severe Injury | Always stay – movement risks further damage | Only if imminent danger outweighs injury risk | Any injury impairing mobility or consciousness |
| Unknown Location | Stay – searchers can find stationary target | Never – wandering reduces rescue probability | More than 100 feet from confirmed location |
| Deteriorating Weather | If sheltered adequately | If better shelter is visible and accessible | Temperature drops below freezing or extreme heat |
| Nightfall Approach | Always stay – navigation becomes impossible | Only if civilization is visibly close | Within 2 hours of darkness |
| Resources Available | If you have water, warmth, and signaling capability | If resources depleted and no resupply available | Less than 24 hours of water or warmth |
The hard truth? Staying put often takes more discipline than moving. It means resisting the urge to act when doing nothing is smarter. You’re not being passive – you’re being strategic.
Self-rescue decisions should be thoughtful, not desperate. If you decide to move, have a clear goal, not just “away from here.” Your plan should include a route and a realistic look at what you can do.
Remember: rescue teams prefer finding you safe and sound over injured and lost. Sometimes, the bravest thing you can do is nothing – just stay alive until help arrives.
Incident Documentation & Insurance
Welcome to the world of paperwork after a wilderness mishap. It’s not just about filling out forms. It’s about protecting your wallet from huge rescue costs and insurance denials.
Documentation is like your defense against bad choices. That heroic airlift? It turns into a $50,000 bill when it arrives.
Begin documenting right when things go wrong. Your phone is both a lifeline and a tool to gather evidence. Record everything like it’s a case against your bank account.
Essential evidence to capture:
- Exact time stamps of each emergency call
- Names and badge numbers of every responder
- Photos of injuries, terrain, and weather conditions
- GPS coordinates where the incident occurred
- Witness contact information and statements
Why document so much? Insurance companies see these reports as holy texts. Any missing details can be a big problem.
Many outdoor lovers don’t know their health insurance might not cover rescue costs. That’s when good documentation becomes key to saving money.
Make a detailed timeline that would impress a courtroom stenographer. Include response times, treatments, and resources used. This helps not just with insurance claims but also improves emergency services.
Your mishap can help others. Proper reporting turns your story into a lesson for future hikers. It shows you’ve learned from your mistakes through detailed paperwork.
Keep both digital and physical copies of your documents. Email them to yourself as you go. This creates a record even if your phone gets wet.
Your future self will be grateful when dealing with insurance adjusters. Good documentation makes you look responsible, not reckless.
Post‑Incident Learning & Community Reporting
Your emergency is over, but your civic duty has just begun. Think of yourself as a data point in the safety ecosystem. You’ve lived through the misadventure—now it’s time to make it count.
Reporting your experience isn’t just paperwork. It’s activism with a paper trail. Contact the CHP for road incidents, or reach out to park dispatch if your trouble was trail-related. Your story could trigger a community alert or improve signage.
Lost gear? Hazardous conditions? Report them. Your casual observation might be the clue that prevents the next rescue operation. It’s like being a secret agent for public safety—without the fancy gadgets.
Share what you learned, but skip the dramatic reenactment. Stick to facts: location, time, what went wrong. Your account adds to collective knowledge, making outdoor spaces safer for everyone.
You started as a victim. You’re ending as a contributor. That’s how one bad day becomes a good deed for the community.